Professional China PCB Assembly Online Services

Creating a PCB prototype involves several key steps. Here's a general overview of the process:

1.Define Design Requirements:
Identify the purpose and specifications of the PCB.
Determine the size, shape, and functionality of the board.
Establish electrical requirements and constraints.
2.Schematic Design:
Create a schematic diagram using design software.
Define components, connections, and their relationships.
3.Component Placement:
Place components on the board layout based on the schematic.
Consider factors like signal integrity, power distribution, and thermal management.
4.Routing:
Connect components using traces (copper pathways).
Follow design rules for signal integrity, impedance, and manufacturability.
5.Ground and Power Planes:
Design ground and power planes for proper distribution.
Ensure adequate power supply and minimize noise.
6.Design Verification:
Use design rule checking (DRC) to identify and fix errors.
Simulate the circuit to verify its performance.
7.Generate Gerber Files:
Export Gerber files containing manufacturing information.
Gerber files include layers, solder mask, silkscreen, and copper traces.
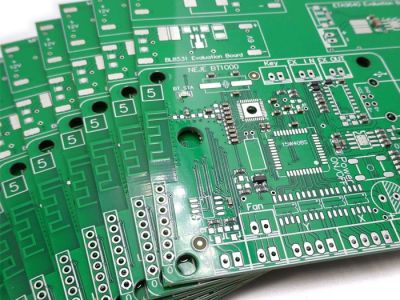
8.Prototype Fabrication:
Send Gerber files to a PCB manufacturer or use in-house prototyping.
Choose the appropriate substrate material and layer stack.
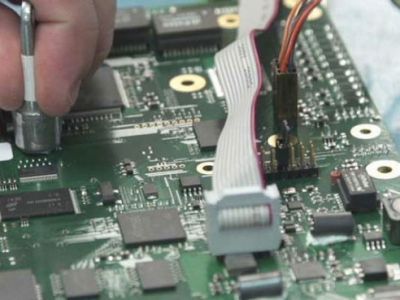
9.Component Assembly:
Place and solder components onto the PCB.
Use appropriate soldering techniques, such as surface mount or through-hole.
10.Testing:
Perform functional and electrical testing on the prototype.
Identify and rectify any issues or defects.
11.Iterative Design:
If necessary, make design modifications based on testing results.
Update the design and create a new prototype if required.
12.Documentation:
Create documentation that includes schematics, Gerber files, and assembly instructions.
Document any changes made during the prototyping phase.
13.Mass Production (Optional):
If the prototype meets all requirements, proceed to mass production.
Coordinate with a PCB manufacturer for larger quantities.
Remember that the specific details of each step may vary depending on the complexity of the PCB design, the technology used, and the specific requirements of the project. It's essential to follow best practices and guidelines for successful PCB prototyping.