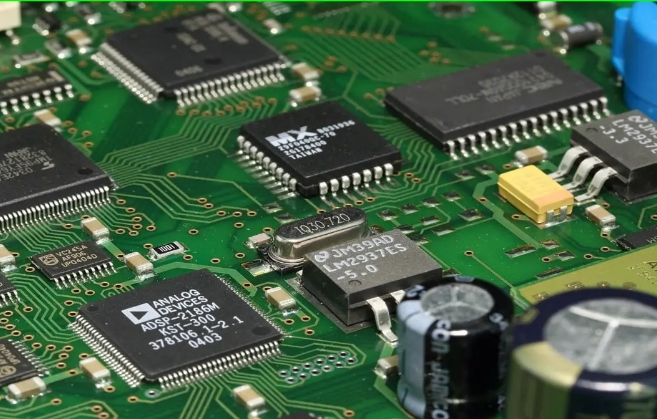
Circuit Card Assembly (CCA) involves the process of assembling electronic components on a printed circuit board (PCB) to create a functional electronic device. The steps in circuit card assembly can vary depending on the complexity of the circuit and the specific requirements of the project. Here is a general overview of the typical steps involved:

1.Design and Prototyping:
Before the actual assembly process begins, the circuit card is designed using computer-aided design (CAD) tools. Prototyping may also be done to test and validate the design.
2.Material Preparation:
Gather all the necessary materials, including the printed circuit board (PCB), electronic components, solder, flux, and any other materials required for the assembly.
3.Stencil Application:
Apply solder paste to the PCB using a stencil. The solder paste is applied to the areas where the components will be placed.
4.Component Placement:
Automated or manual equipment is used to place the electronic components onto the solder paste on the PCB. This step requires precision to ensure that components are placed accurately.
5.Soldering:
The PCB is passed through a reflow oven where the solder paste is melted, creating a strong electrical and mechanical connection between the components and the PCB. In some cases, selective soldering may be used for through-hole components.
6.Inspection:
After soldering, the assembled PCB undergoes inspection to identify any defects, such as solder bridges or missing components. Automated optical inspection (AOI) and X-ray inspection may be used for thorough examination.
7.Cleaning:
Remove any residual flux or contaminants from the PCB to ensure the reliability of the final product. Cleaning can be done using various methods, including ultrasonic cleaning or water-based cleaning solutions.
8.Testing:
Conduct functional testing to ensure that the assembled circuit card meets the specified performance criteria. This may involve various tests, such as continuity testing, functional testing, and electrical testing.
9.Programming (if applicable):
If the circuit includes programmable components, such as microcontrollers or FPGAs, programming is done at this stage. This step ensures that the device operates according to its intended functionality.
10.Packaging:
If the circuit card is part of a larger system, it may be packaged along with other components to form the final product. This can include the assembly of enclosures, connectors, and other external features.
11.Quality Control:
Conduct final quality control checks to ensure that the assembled circuit cards meet the required quality standards. This may involve visual inspection, functional testing, and other quality assurance measures.
12.Shipping and Distribution:
Once the circuit cards pass all quality checks, they are prepared for shipping and distribution to end-users or other assembly facilities where they may be integrated into larger systems.
These steps provide a general overview, and the specific details may vary based on factors such as the complexity of the circuit, the type of components being used, and the industry standards applicable to the particular electronic device. Automated assembly processes are common in large-scale production, while smaller-scale or specialized projects may involve more manual labor.