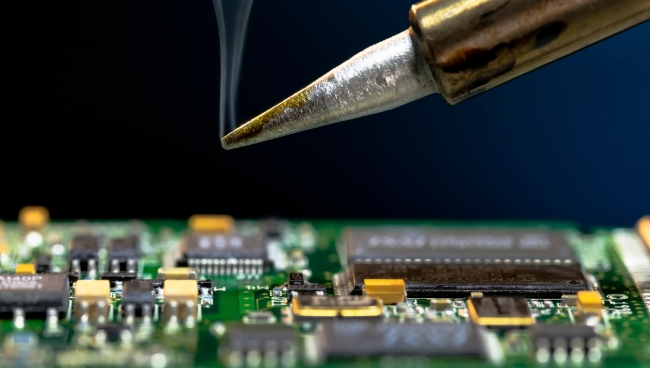
Electronic circuits come to life on PCBs (Printed Circuit Boards), where components are interconnected meticulously according to design specifications. These connections can be established by copper traces directly embedded on the PCB or through soldered wires onto both through-hole and surface-mount components. For instance, when constructing prototypes on Vero Board, it is common practice to use stranded wires that are soldered to through-hole packages for electrical links. In contrast, during PCB manufacturing, both types of components—through-hole technology (THT) and surface mount technology (SMT)—are soldered onto designated pads, vias, and holes.

Soldering is a fundamental technique in electronics assembly, which involves melting a solder wire onto the leads or terminals of components under heat to create an enduring electrical bond. This bonding process ensures reliable conductivity between components and the circuit board.
To achieve successful soldering, several tools are indispensable:
Soldering Iron: A handheld device with a heating element at its tip, typically powered by 220/110V AC. Tinning the iron's tip improves its ability to hold and spread solder evenly across surfaces, enhancing overall performance.
1.Tinning Process: Prior to soldering, tinning not only conditions the iron's tip but also primes copper wires for efficient solder adhesion. It prevents breakage and promotes sturdy, stable joints.
2.Solder Sucker: Used in de-soldering tasks, this tool helps remove solder from component legs without damaging the PCB. However, caution must be exercised to avoid excessive suction that could harm pad integrity on lower-quality boards.
3.Tweezers: These are essential for precise handling and placement of components on both Vero boards and PCBs.
4.Solder Wire: Available in different compositions, such as lead-free solders containing 96.3% tin, 0.7% copper, and 3% silver, a gauge #21 solder has a diameter of 0.032″ and melts within a temperature range around 217°C - 221°C.
5.Solder Flux: Critical for effective soldering, flux eliminates oxidation and chemically cleans metal surfaces, promoting wetting—the spreading of molten solder over a clean surface to form a strong bond. Rosin flux and ammonium chloride flux are often used in electronic circuits.
6.Soldering Station: Offering temperature control, these stations regulate the heating element's current to maintain consistent heat output. Weller QB and other brands manufacture sophisticated soldering stations featuring knobs, switches, temperature displays, and are powered by standard AC voltages.
7.Iron Stand: Essential safety equipment for safely resting the hot soldering iron when not in use.
8.Soldering Gun: An alternative tool shaped like a pistol, with a trigger to activate and deactivate the soldering process.
9.Soldering Clamp Stand / PCB Holder Jig: These stands simplify soldering tasks by securely holding wires and clamping the PCB in place.
10.Cleaning Cloth: Regular cleaning of the iron tip using a damp sponge or cloth is crucial to maintaining tip quality.
Beginners should start with thinner, easier-to-work-with 60/40 solder wire. Selecting the right size of soldering iron tip is equally important; thinner tips require less wattage than thicker ones. Different wattages serve distinct purposes – thinner tips are more suitable for intricate SMT work, while larger tips are ideal for broader THT applications. Set the soldering iron temperature to a typical operating range of about 330°C to 350°C, ensuring the iron reaches this temperature fully before soldering to prevent cold joints due to insufficient heat or premature cooling.
Always turn off the iron when not actively soldering to preserve the tip’s lifespan. Handle the iron by its insulated handle, never the heated tip. Touch the iron to the joint first, then apply solder, ensuring even distribution. Overuse of solder should be avoided—a small amount sufficient to cover the connection is enough to make a solid joint.
Before attempting to join components, tin them beforehand to ensure better adherence. Routinely inspect and clean your soldering iron tip for oxidation or leftover flux residue, as they can hinder soldering efficiency. Allow the solder joint to cool naturally without disturbance.
Practice soldering skills on scrap boards to refine techniques before tackling actual projects. Work in a well-ventilated environment to minimize inhalation of potentially harmful solder fumes. Maintain a steady hand throughout the soldering process to produce high-quality, stable joints free from instability or wobble. With patience, practice, and proper implementation of these guidelines, mastering the art of soldering circuit boards becomes an attainable skill for anyone engaged in electronics assembly and repair.