Professional China PCB Assembly Online Services
Custom keyboards have seen a surge in popularity in recent years, offering enthusiasts and professionals alike a way to fine-tune their typing experience. Building your own custom keyboard is an exciting endeavor that allows for personalization and optimal comfort. However, to embark on this journey, it's crucial to understand the intricate process of designing and creating a custom keyboard PCB. In this article, we will delve into the world of custom keyboard PCBs, exploring the necessary steps and best practices for creating your own.

Before we dive into the details, let's first understand what a custom keyboard PCB entails. A PCB, or Printed Circuit Board, serves as the foundation for electronic components in various devices, including keyboards. It provides the electrical connections between different components, allowing for seamless communication and input. Designing a custom keyboard PCB enables you to tailor the layout, functionality, and aesthetics of your keyboard to suit your preferences.
A custom keyboard refers to a keyboard that deviates from the traditional, off-the-shelf models. It offers a unique layout, customized keycaps, and sometimes even specialized switches. Building a custom keyboard allows you to create a device that perfectly suits your needs and enhances your typing experience.
The PCB plays a crucial role in custom keyboard design. It establishes the electrical connections between the switches and the controller, translating your keystrokes into electronic signals that your computer can understand. By customizing the PCB, you can design innovative layouts, incorporate additional functionalities, and realize your desired typing experience.
The keyboard matrix serves as the backbone of the input mechanism in a mechanical keyboard. It establishes a grid-like structure that allows for efficient scanning of key presses. Understanding the concept of a keyboard matrix and how it interacts with the PCB is integral to creating a functional custom keyboard.
The matrix is built upon rows and columns, forming a grid where each key intersection resides. Rows and columns are the building blocks of the matrix, with each key being uniquely identified by its row and column coordinates. Configuring the number of rows and columns is an essential aspect of designing a custom keyboard PCB.
Designing a custom keyboard PCB involves making a series of important decisions that will shape the final product. Let's explore the key considerations when crafting your ideal custom keyboard PCB.
Before diving into the design process, you must decide on the keyboard layout that best suits your needs. Popular layouts include the ANSI layout, ISO layout, and various custom designs. Each layout has its own unique arrangement of keys, and it's important to select one that aligns with your typing style and preferences.
The number of rows and columns in your custom keyboard matrix determines the total number of keys and the overall layout. Factors such as ergonomics, comfort, and space constraints play a significant role in this decision. While a smaller matrix may optimize space, a larger one can accommodate additional keys or functionalities.
Carefully arranging the components on the PCB is essential for an ergonomic and visually pleasing design. Consider the spacing between keys, the placement of modifier keys, and the integration of additional features like rotary encoders or OLED displays. Balancing aesthetics and functionality is key to an exceptional custom keyboard PCB.
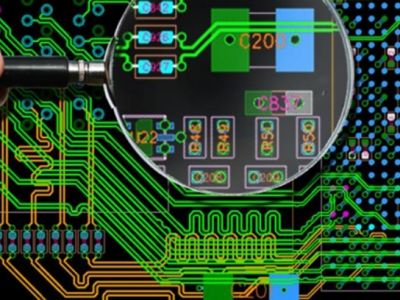
When designing your custom keyboard PCB, you need to pay attention to the routes that electrical signals take. The traces, vias, and copper pads route signals between components, ensuring smooth communication. Adequate spacing between traces and appropriate sizing of copper pads are crucial design considerations for efficient signal transmission.
Once you have finalized your custom keyboard PCB design, it's time to bring it to life by collaborating with a PCB manufacturer. Here's what you need to know about working with manufacturers to turn your design into a tangible product.
Take the time to research and find a reputable PCB manufacturer who can meet your specific requirements. Look for manufacturers with experience in keyboard PCBs and check their reviews and customer feedback. Ensure they have the necessary fabrication capabilities and can produce the quantity you desire.
To produce your custom keyboard PCB, you need to provide manufacturers with precise specifications and design files. These files include Gerber files, which outline the PCB layers, components, and traces. Collaboration with the manufacturer is vital during this stage to ensure they have all the necessary information to bring your custom design to fruition.
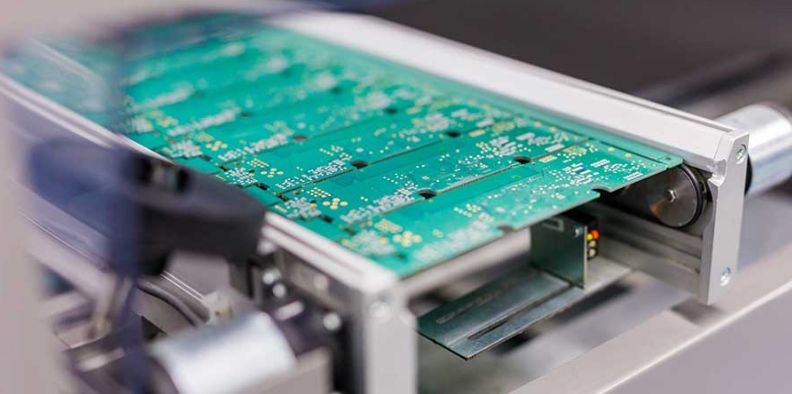
Understanding the manufacturing process can help you appreciate the intricacies involved in producing a custom keyboard PCB. Manufacturers utilize advanced techniques like additive copper deposition, photoengraving, drilling, and solder mask application to create your PCB. Immersion gold or tin plating is often used to ensure durability and prevent corrosion.
Quality control is crucial to ensure your custom keyboard PCB meets your expectations. Manufacturers employ various testing procedures, including automated optical inspection (AOI) and electrical testing, to verify the integrity of the PCB. Keep in touch with your manufacturer throughout this process to address any concerns or changes.
Once you receive your custom keyboard PCB from the manufacturer, it's time to assemble the keyboard and bring it to life. Here's what you need to know:
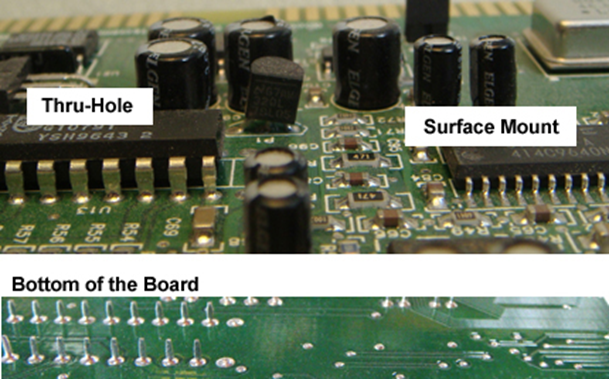
Soldering is the process of joining electronic components to the PCB using solder, a low-melting-point alloy. It requires careful precision and attention to detail. Take your time during the soldering process to ensure each component is correctly placed and securely attached to the PCB.
After soldering the components, you need to program the matrix with firmware. Firmware is the software code that enables the keyboard to communicate with your computer. With open-source firmware like QMK or VIA, you can fully customize the functionality of your keyboard, including layout and keymaps.
Before finalizing your custom keyboard, thorough testing is essential to ensure everything works as intended. Check each key for responsiveness and accuracy, test modifier keys, and verify any additional features or functionalities. Investing time in testing will help you identify and resolve any issues efficiently.
To keep your custom keyboard PCB in top shape, regular maintenance is necessary. Here are some tips and troubleshooting suggestions:
Use compressed air to remove debris and dust from between the keys.
Clean keycaps regularly with a gentle solution and soft cloth.
Avoid excessive exposure to moisture or liquids.
Store your keyboard in a clean and dust-free environment when not in use.
Test the PCB in different USB ports.
Check for loose connections or solder joints.
Verify firmware settings for any misconfiguration.
Consult online communities or forums for troubleshooting assistance.
Designing and creating your own custom keyboard PCB is an exciting journey that allows for unparalleled customization and comfort. By understanding the intricacies of PCB design, collaborating with reliable manufacturers, and mastering the assembly process, you can craft a keyboard that truly elevates your typing experience. So, roll up your sleeves, let your creativity flourish, and embark on the adventure of building your dream custom keyboard.
1. Can I use any keyboard layout for my custom PCB, or are there limitations?
While you have the freedom to design your own layout, compatibility issues may arise with certain keycaps or keycap sets. It's advisable to ensure your layout is compatible with popular keycap profiles to ensure a wide range of customization options.
2. Do I need programming knowledge to design and build a custom keyboard PCB?
While programming knowledge can be helpful for advanced customization, many resources and tools exist that allow you to create a custom keyboard without extensive programming experience. Utilizing open-source firmware like QMK or VIA simplifies the process for beginners.
3. Can I add extra features like RGB lighting to my custom keyboard PCB?
Yes! Many custom keyboard PCBs are designed to support RGB lighting. You can incorporate individual LEDs for per-key backlighting or even implement underglow lighting effects to enhance the aesthetics of your custom keyboard.
4. Are there PCB manufacturers specializing in custom keyboard PCBs?
Yes, there are several well-established PCB manufacturers in the market who cater specifically to the needs of custom keyboard enthusiasts. Do your research to find the manufacturer that best aligns with your requirements.
5. Can I make changes to my custom keyboard PCB layout after it has been manufactured?
Once your custom keyboard PCB is manufactured, it becomes challenging to make changes without significant effort. It's crucial to thoroughly test and validate your design before sending it for production to avoid unnecessary revisions.