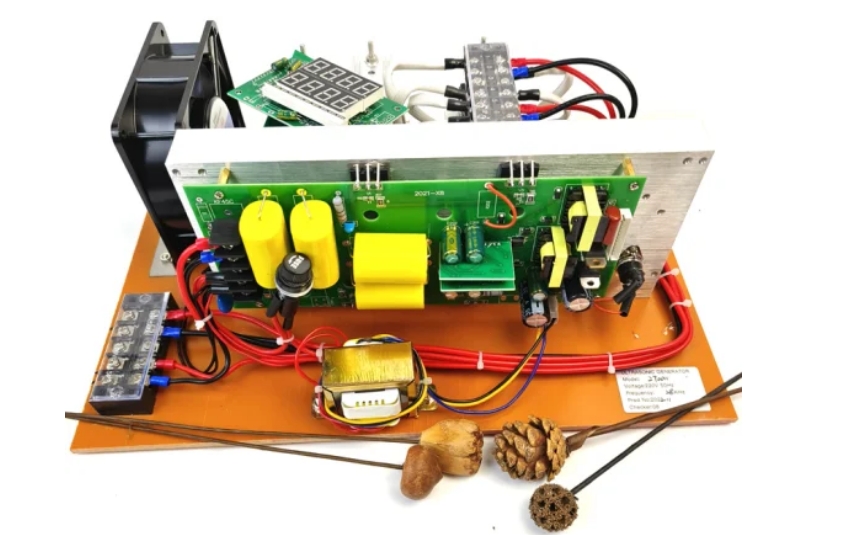
Printed Circuit Boards (PCBs) are the heart of electronic devices, housing various electronic components that work together to perform specific functions. During the manufacturing and assembly processes, PCBs can accumulate dirt, dust, and flux residue, which can impact their performance and reliability. One of the most effective methods for cleaning PCBs is ultrasonic cleaning. This article will delve into the benefits of using an ultrasonic cleaner for PCB cleaning, the process involved, and the key considerations for achieving optimal results.

Ultrasonic cleaning is a process that uses high-frequency sound waves to create cavitation bubbles in a cleaning solution. These bubbles implode with great force, effectively removing contaminants from surfaces, including flux residue and dirt from electronic components on PCBs. This method is particularly advantageous for cleaning intricate and delicate parts that are challenging to clean using traditional methods.
Ultrasonic cleaning ensures that all contaminants, including flux residues, are thoroughly removed from the PCB. The cavitation bubbles can reach into tiny crevices and under components, ensuring a comprehensive clean that manual cleaning methods cannot achieve.
Unlike some mechanical cleaning methods, ultrasonic cleaning is non-destructive. It gently cleans the PCB and its electronic components without causing any physical damage or wear.
Ultrasonic cleaners can clean multiple PCBs simultaneously, making the process highly efficient. This is particularly beneficial in manufacturing environments where time and productivity are critical.
The ultrasonic cleaning process provides consistent results. Each cleaning cycle is identical, ensuring that every PCB is cleaned to the same high standard.
The Ultrasonic Cleaning Process
1. Preparation
Before placing the PCB in the ultrasonic cleaner, it's essential to prepare it by removing any large particles or loose debris manually. This step ensures that the cleaning solution can effectively target the more stubborn contaminants.
2. Choosing the Cleaning Solution
The choice of cleaning solution is crucial for effective PCB cleaning. It's important to select a solution that is compatible with the materials used in the PCB and its electronic components. Commonly used cleaning solutions include deionized water, mild detergents, and specialized flux removers designed to clean fluxes.
3. Setting Up the Ultrasonic Cleaner
Fill the ultrasonic cleaner's tank with the chosen cleaning solution. Ensure that the solution covers the PCBs completely. Set the appropriate temperature and duration for the cleaning cycle. The optimal settings can vary depending on the type and amount of contamination.
4. Cleaning Cycle
Place the PCBs in the ultrasonic cleaner's basket, ensuring they are fully submerged in the cleaning solution. Start the cleaning cycle. The ultrasonic cleaner will generate high-frequency sound waves, creating cavitation bubbles that dislodge and remove contaminants from the PCBs.
5. Rinsing and Drying
After the cleaning cycle is complete, rinse the PCBs with deionized water to remove any remaining cleaning solution. Thoroughly dry the PCBs using compressed air or a drying oven to ensure no moisture remains, which could potentially cause damage to the electronic components.
Ensure that the cleaning solution is compatible with the materials used in the PCB and its components. Using an incompatible solution can cause damage or leave residues that affect the PCB's performance.
Maintaining the appropriate temperature is crucial for effective cleaning. Too high a temperature can damage sensitive electronic components, while too low a temperature may not effectively remove contaminants.
The duration of the cleaning cycle should be optimized to ensure thorough cleaning without overexposing the PCBs to the cleaning solution. Typically, a cleaning cycle lasts between 5 to 10 minutes, but this can vary based on the level of contamination.
After cleaning, inspect the PCBs to ensure all contaminants have been removed. Check for any signs of damage or residues that may require additional cleaning.
The best cleaning solution depends on the type of contaminants and the materials used in the PCB. Deionized water, mild detergents, and specialized flux removers are commonly used. Always ensure the solution is compatible with your PCB materials.
When used correctly, ultrasonic cleaning is non-destructive and safe for electronic components. It's essential to use the right cleaning solution, temperature, and duration to avoid any potential damage.
The frequency of cleaning depends on the manufacturing process and the level of contamination. Regular cleaning can help maintain optimal performance and reliability of the PCBs.
Yes, ultrasonic cleaning is highly effective for removing flux residue from PCBs. The cavitation bubbles generated by the ultrasonic cleaner can reach into tight spaces and under components, ensuring thorough removal of flux residues.
The optimal temperature for ultrasonic PCB cleaning typically ranges from 40°C to 60°C. However, it's important to consider the specific requirements of the PCB and its components to avoid any potential damage.
It's recommended to use deionized water or a specialized cleaning solution rather than tap water. Tap water may contain impurities that can leave residues on the PCB or cause damage to sensitive components.
The duration of the cleaning cycle typically ranges from 5 to 10 minutes, depending on the level of contamination. It's important to monitor the cleaning process and adjust the duration as needed to ensure thorough cleaning without overexposure.
Ultrasonic cleaning is a highly effective method for cleaning PCBs, offering thorough, non-destructive, and efficient cleaning of electronic components. By understanding the ultrasonic cleaning process and the key considerations involved, you can ensure your PCBs are free from contaminants, enhancing their performance and reliability.
Whether you're in a manufacturing environment or working on a DIY electronics project, investing in an ultrasonic cleaner for PCB cleaning can significantly improve the quality and longevity of your electronic devices.