Professional China PCB Assembly Online Services
Printed Circuit Boards (PCBs) are the backbone of modern electronics, making complex circuits compact and manageable. For hobbyists, students, and budding engineers, PCB mini projects offer an excellent opportunity to dive into the world of electronics, gain hands-on experience, and bring creative ideas to life. This article explores various PCB mini projects, their benefits, and how you can get started with your own projects.

PCB mini projects provide a hands-on learning experience that is invaluable for understanding electronics. By working on these projects, you get to apply theoretical knowledge in a practical setting, which reinforces learning and helps you grasp concepts more effectively.
Designing and assembling PCBs develop a range of skills, including circuit design, soldering, troubleshooting, and project management. These skills are not only essential for electronics but are also highly transferable to other fields.
PCB mini projects encourage creativity and innovation. Whether you are designing a simple LED circuit or a more complex sensor-based project, you have the freedom to experiment, innovate, and create something unique.
For students and job seekers, PCB mini projects can be a great addition to your portfolio. They demonstrate your practical skills and your ability to complete projects, which can be impressive to potential employers or academic institutions.
Start by choosing a project that matches your skill level and interests. Beginners might want to start with simple projects like LED blinkers or basic power supplies. As you gain more experience, you can move on to more complex projects like microcontroller-based systems or wireless communication devices.
Once you have chosen your project, gather all the necessary materials. This typically includes a PCB board, electronic components (resistors, capacitors, ICs, etc.), soldering iron, solder, and other tools like wire cutters and multimeters.
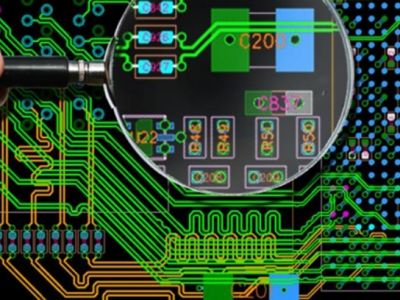
Design your circuit using software like Eagle, KiCad, or Fritzing. These tools allow you to create a schematic diagram and layout the PCB. Pay attention to component placement, trace routing, and other design considerations to ensure your circuit functions correctly.
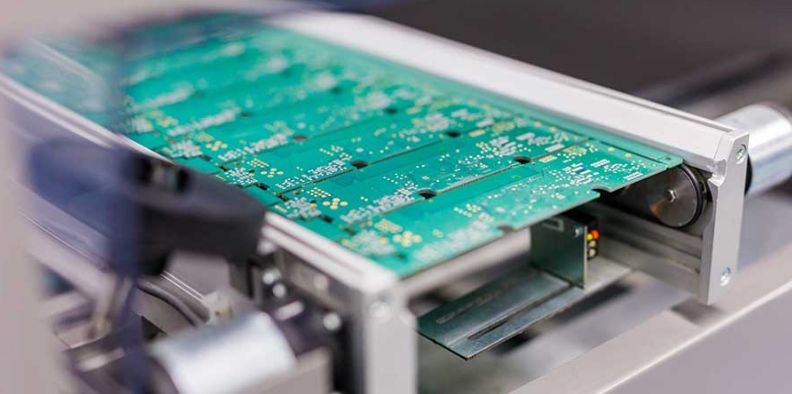
You can either fabricate the PCB yourself using techniques like toner transfer or photoresist, or you can send your design to a professional PCB manufacturer. For beginners, using a PCB manufacturer is often the easiest and most reliable option.
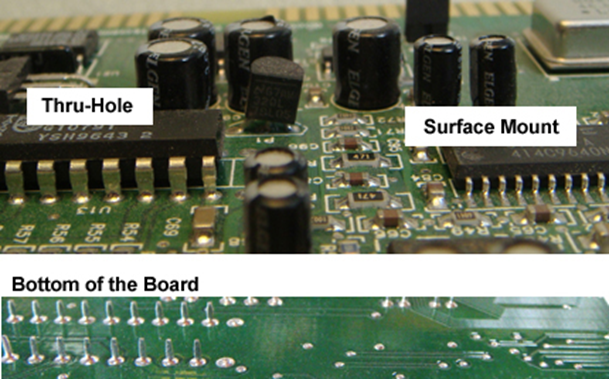
Once you have your PCB, it's time to assemble it. Solder the components onto the board, following your schematic diagram. Take your time and ensure each connection is solid to avoid issues later on.
After assembling your PCB, test it to ensure it works as intended. Use a multimeter to check connections and voltages, and troubleshoot any issues that arise. Debugging is a critical skill, so don't get discouraged if things don't work perfectly the first time.
An LED blinker is a great beginner project. It involves creating a simple circuit that makes an LED blink at regular intervals. This project teaches basic circuit design and soldering skills.
A temperature sensor project involves using a sensor like the LM35 or DHT11 to measure temperature and display it on an LCD screen. This project introduces sensors, microcontrollers, and data display techniques.
Building a regulated power supply is a useful project that provides a steady voltage output. This project covers voltage regulation, filtering, and basic power electronics.
A digital clock project involves creating a clock that displays the time using seven-segment displays or an LCD screen. This project combines timekeeping, display control, and microcontroller programming.
Arduino-based projects are very popular due to the versatility of the Arduino platform. You can create projects like automated lighting systems, robot cars, or home automation systems using Arduino boards and shields.
Projects involving wireless communication, such as using Bluetooth or Wi-Fi modules, are great for learning about data transmission and remote control. You can create projects like wireless temperature monitors or remote-controlled robots.
A PCB mini project is a small-scale electronics project that involves designing, assembling, and testing a printed circuit board. These projects are typically used for educational purposes, skill development, and hobbyist experimentation.
Common tools for PCB mini projects include a soldering iron, solder, wire cutters, multimeter, and PCB design software. Depending on the project, you may also need specific components like resistors, capacitors, ICs, sensors, and microcontrollers.
You can design a PCB using software like Eagle, KiCad, or Fritzing. These tools allow you to create a schematic diagram and layout the PCB. Once the design is complete, you can either fabricate the PCB yourself or send it to a professional manufacturer.
Yes, beginners can start with simple PCB mini projects like LED blinkers or basic power supplies. These projects are designed to be easy to understand and assemble, providing a good introduction to PCB design and electronics.
You can find PCB project ideas from various sources, including online forums, electronics hobbyist websites, and educational resources. Books and magazines on electronics also often feature project ideas and tutorials.
Troubleshooting a PCB project involves checking connections, measuring voltages, and identifying any faulty components. Use a multimeter to test continuity and voltage levels, and refer to your schematic diagram to ensure everything is connected correctly.
PCB mini projects are an excellent way to learn about electronics, develop practical skills, and unleash your creativity. Whether you are a beginner or an experienced hobbyist, there is always something new to learn and explore in the world of PCB projects. By following the steps outlined in this article and choosing projects that match your interests and skill level, you can embark on a rewarding journey of discovery and innovation in electronics.