Professional China PCB Assembly Online Services
Arduino has revolutionized the way hobbyists and professionals build electronic projects. One of the key components that can enhance these projects is the custom PCB (Printed Circuit Board). Custom PCBs allow for tailored solutions that fit specific project needs, making them invaluable for developers. This guide delves into what custom Arduino PCBs are, their benefits, design processes, and best practices.

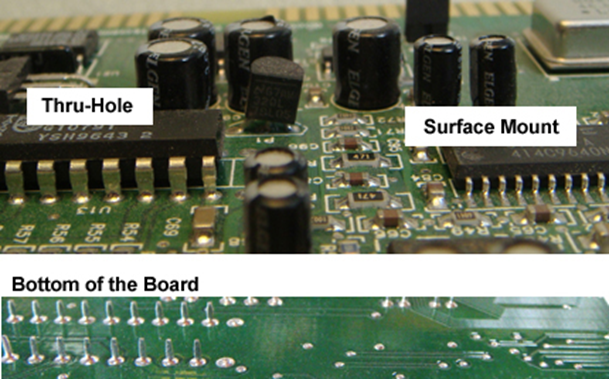
A custom PCB is a printed circuit board that is designed specifically for a particular project or application. Unlike standard Arduino boards, which come pre-made with fixed layouts, custom PCBs can be tailored in size, shape, and functionality. This flexibility enables developers to create more compact, efficient, and unique designs that meet their project's requirements.
Custom PCBs can be designed to fit snugly within a project’s casing, eliminating unnecessary space and weight. This is particularly useful in projects where size is a constraint, such as wearable devices.
By designing a PCB tailored to your specific needs, you can optimize performance. This includes better routing for signal integrity and power distribution, which can lead to more reliable operation.
While there may be an initial cost in designing a custom PCB, it can lead to savings in the long run. Bulk manufacturing of a custom design can reduce per-unit costs, especially for larger production runs.
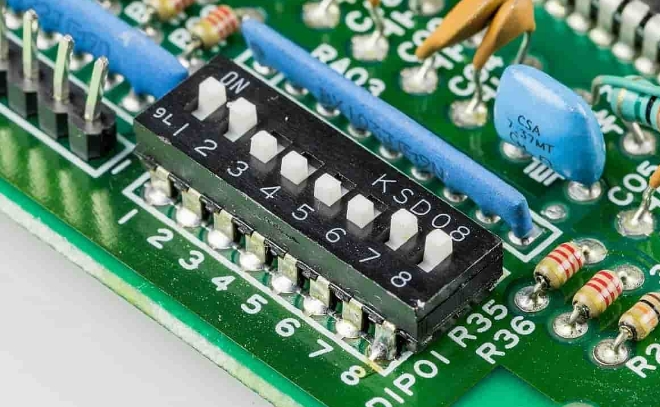
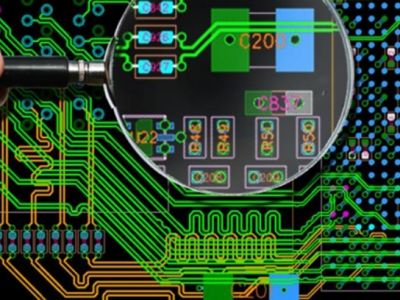
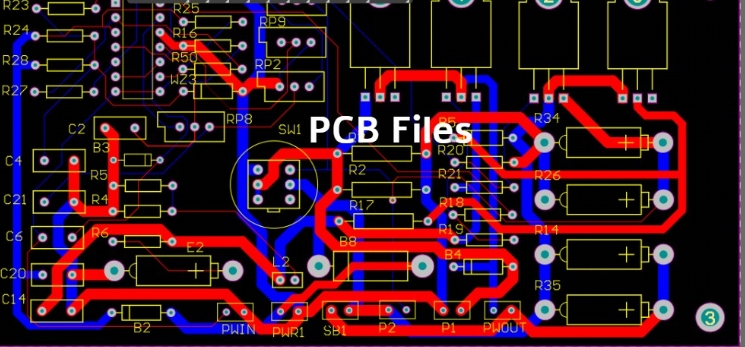
PCB layout is crucial in ensuring that the electronic components are correctly arranged and connected. A well-designed layout reduces the risk of errors and improves functionality. Key aspects to consider include:
Component Placement: Ensure components are placed logically to minimize trace lengths.
Signal Routing: Avoid crossing signal lines, which can introduce noise.
Ground Planes: Use ground planes to reduce electromagnetic interference and improve signal integrity.
There are numerous tools available for PCB layout design, such as Eagle, KiCAD, and Altium Designer. Each offers various features that cater to different levels of expertise, from beginner to advanced users.
Creating a circuit design involves selecting appropriate components and determining how they will connect. This process is vital for ensuring that the final product operates as intended. Here are a few tips:
Select Compatible Components: Ensure that components are compatible with your Arduino board’s specifications.
Simulate Your Design: Use simulation software to test your circuit design before moving to PCB layout.
Check Voltage and Current Ratings: Make sure components can handle the power requirements of your design.
Power supply is a critical aspect of any electronic project. A stable power supply ensures that your custom PCB operates reliably. Consider the following:
Voltage Requirements: Understand the voltage needs of your components and choose a power supply that meets those needs.
Regulation: Use voltage regulators if your project requires different voltage levels for various components.
Protection Circuits: Incorporate protection circuits to guard against overvoltage or short circuits.
Start by clearly outlining what you need your PCB to do. Consider size, functionality, and any specific requirements for components.
Using PCB design software, create a schematic that outlines how all components will be connected. This is the blueprint for your PCB.
Transform your schematic into a PCB layout. Place components according to your design considerations and route the connections.
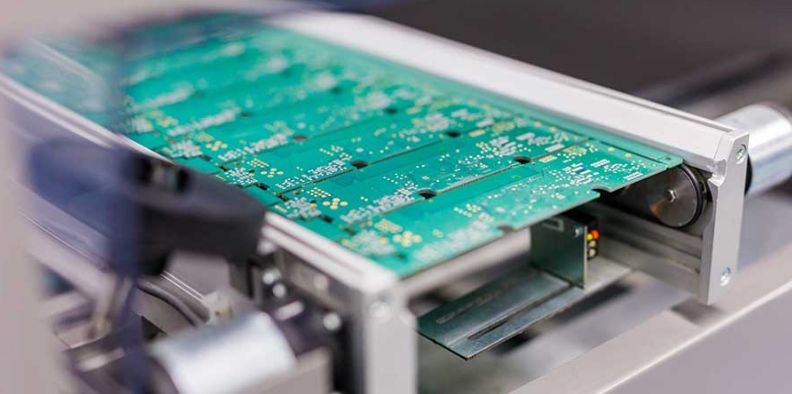
Select suitable materials for your PCB, including the type of substrate and copper thickness. Research manufacturers who can produce your design within your budget and timeline.
Once you receive your custom PCB, assemble the components and conduct thorough testing to ensure everything works as intended.
Follow Design Rules: Adhere to manufacturing guidelines to avoid issues during production.
Keep Traces Short: Minimize trace lengths to improve signal quality.
Label Components Clearly: Ensure all components are labeled for easy assembly and troubleshooting.
Solution: Use a grid layout to keep components organized and minimize trace lengths.
Solution: Use differential pairs and ground planes to mitigate interference.
Solution: Start with a prototype PCB to test your design before committing to larger production runs.
Custom PCBs can significantly enhance your Arduino projects, allowing for unique designs tailored to specific needs. With careful planning, a solid understanding of PCB layout and circuit design, and adherence to best practices, you can create functional and efficient custom PCBs that elevate your projects.
What is the difference between a standard Arduino board and a custom PCB?
Standard boards are pre-designed, while custom PCBs are tailored to specific project needs.
How do I choose the right software for PCB layout?
Consider your level of expertise and project requirements; popular options include Eagle and KiCAD.
What are the best practices for power supply design?
Understand voltage needs, use regulators, and incorporate protection circuits.
Can I create a custom PCB without prior experience?
Yes, but it’s recommended to start with simpler designs and gradually increase complexity.
What are the typical costs associated with custom PCB manufacturing?
Costs vary based on complexity, size, and volume; researching multiple manufacturers can help find the best deal.