Professional China PCB Assembly Online Services
Designing a multilayer PCB (Printed Circuit Board) involves several steps to ensure proper functionality and performance. Here's a step-by-step guide to help you through the process:

Define the Requirements: Understand the specifications and requirements of your PCB design, such as the size constraints, electrical performance, number of layers, and any specific features or components.
Schematic Design: Create a schematic diagram of your circuit using a schematic capture tool. This step involves placing components, connecting them, and ensuring proper electrical connectivity.
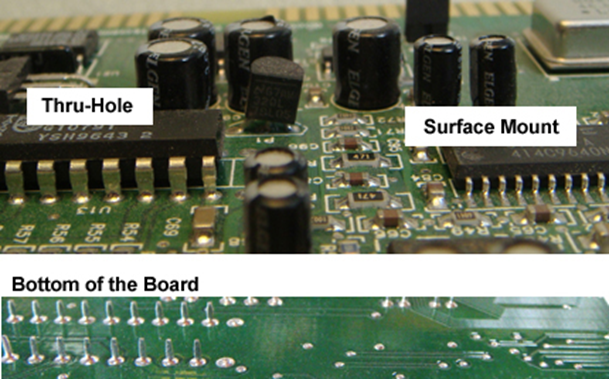
Component Placement: Once the schematic is complete, transfer the components to the PCB layout tool. Arrange the components on the PCB, considering factors like signal integrity, thermal management, and mechanical constraints.
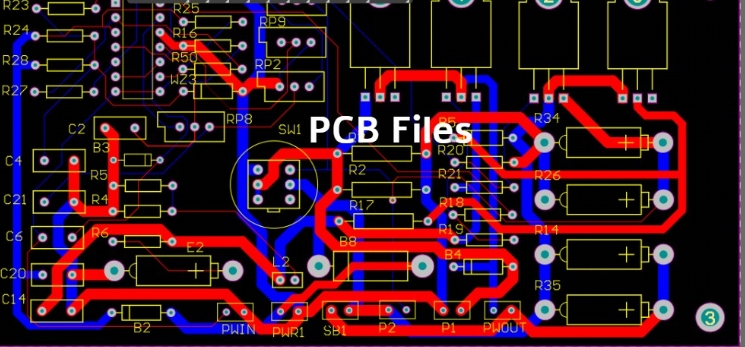
PCB Layer Stackup: Determine the layer stackup based on the number of layers required and the specific needs of your design. Consider factors such as signal integrity, power distribution, and noise isolation. Decide the number of signal layers, power and ground planes, and any additional internal layers.
Routing: Start routing the traces on the PCB layout tool. Begin with critical high-speed signals first, considering impedance matching and minimizing signal integrity issues. Then proceed to route power and ground traces, followed by low-speed signals. Ensure appropriate clearance and avoid crossing high-speed and sensitive traces.
Via Placement: Place vias to establish electrical connections between different layers. Consider the type of vias required (plated through-hole vias, blind vias, buried vias, etc.) based on the layer stackup and design constraints.
Power and Ground Planes: Allocate power and ground planes in your design. These planes provide a stable reference for signals, reduce noise, and aid in thermal management. Ensure proper decoupling and connect the power and ground planes using vias.
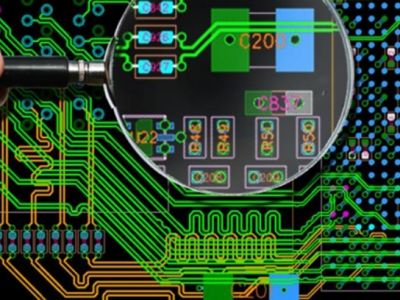
Design Rule Check (DRC): Perform a Design Rule Check to identify and correct any errors or violations in the design. The DRC ensures that the design meets the manufacturing constraints and guidelines provided by the PCB manufacturer.
Thermal Considerations: Analyze the thermal aspects of your design, especially if you have components generating significant heat. Ensure adequate heat dissipation by adding thermal vias, heatsinks, or thermal pads.
Gerber File Generation: Once the layout is complete, generate Gerber files, which are the standard format used by PCB manufacturers. These files contain all the necessary information for manufacturing the PCB.
Design Verification: Before sending the design for manufacturing, perform a thorough review and verification of the layout, including electrical connectivity, spacing, clearances, and manufacturing constraints.
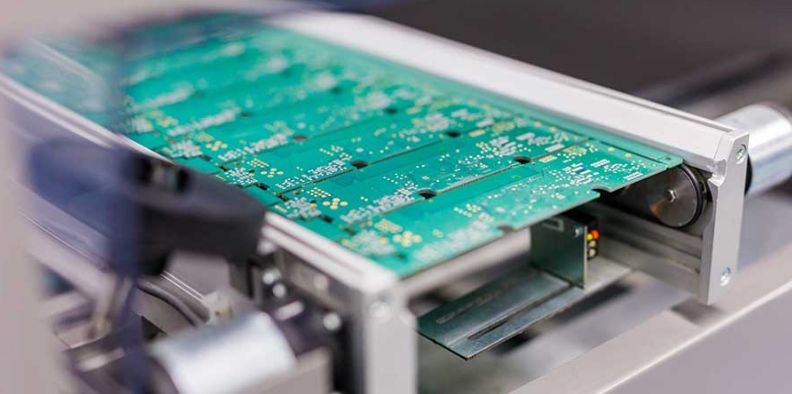
PCB Manufacturing: Submit the Gerber files to a PCB manufacturer for production. Choose a reliable manufacturer that meets your specific requirements in terms of quantity, quality, turnaround time, and cost.
Remember, PCB design can be complex, and it's essential to consider various design guidelines, standards, and best practices throughout the process. Working with experienced PCB designers or engineers and utilizing professional PCB design software can significantly streamline the design process and ensure a high-quality result.
Get more knowledge about Multilayer PCB Design please refer to Rigaopcb:https://www.rigaopcb.com/